Showing posts with label crochet. Show all posts

Tuesday, August 20, 2013

Cast Iron Handle Cover

This is a crochet pattern I had up on my first blog and I am finally moving it to this blog where it belongs.

*Pattern moved from Zorabell's Average Life* Originally Published on 9/20/2010


This pattern is for a simple plain handle cover for my new cast iron skillet. I needed one quickly last night so that I could use my skillet and I was unable to find a free one that I liked. The pattern fits a Lodge cast iron skillet snug, if you need to go up a hook size for your handle then please do so.


Materials:
Worsted weight cotton yarn
G hook

Pattern is worked in a spiral

Row 1- Start with a magic circle and sc 5 times, do not slip stitch into the first stitch- 5 sts
Row 2- 2 sc in each sc, around- 10 sts
Row 3- * Sc in next sc, 2 sc in next sc * rep from * around - 15 sts
Row 4- * Sc in next 2 sc, 2 sc in next sc * rep from * around - 20 sts
Rows 5-7- Sc in each sc around - 20 sts
Row 8- *Sc in next 8 sc, dec 1 sc in next 2 sc* rep from * around- 18 sts
Row 9- *Sc in next 7 sc, dec 1 sc in next 2 sc* rep from * around- 16 sts
Row 10- *Sc in next 6 sc, dec 1 sc in next 2 sc* rep from * around- 14 sts
Rows 11-29- Sc in each sc around- 14 sts

make long enough for your handle, bind off and weave in ends

Sunday, August 4, 2013

Cherry Blossom Baby Blanket

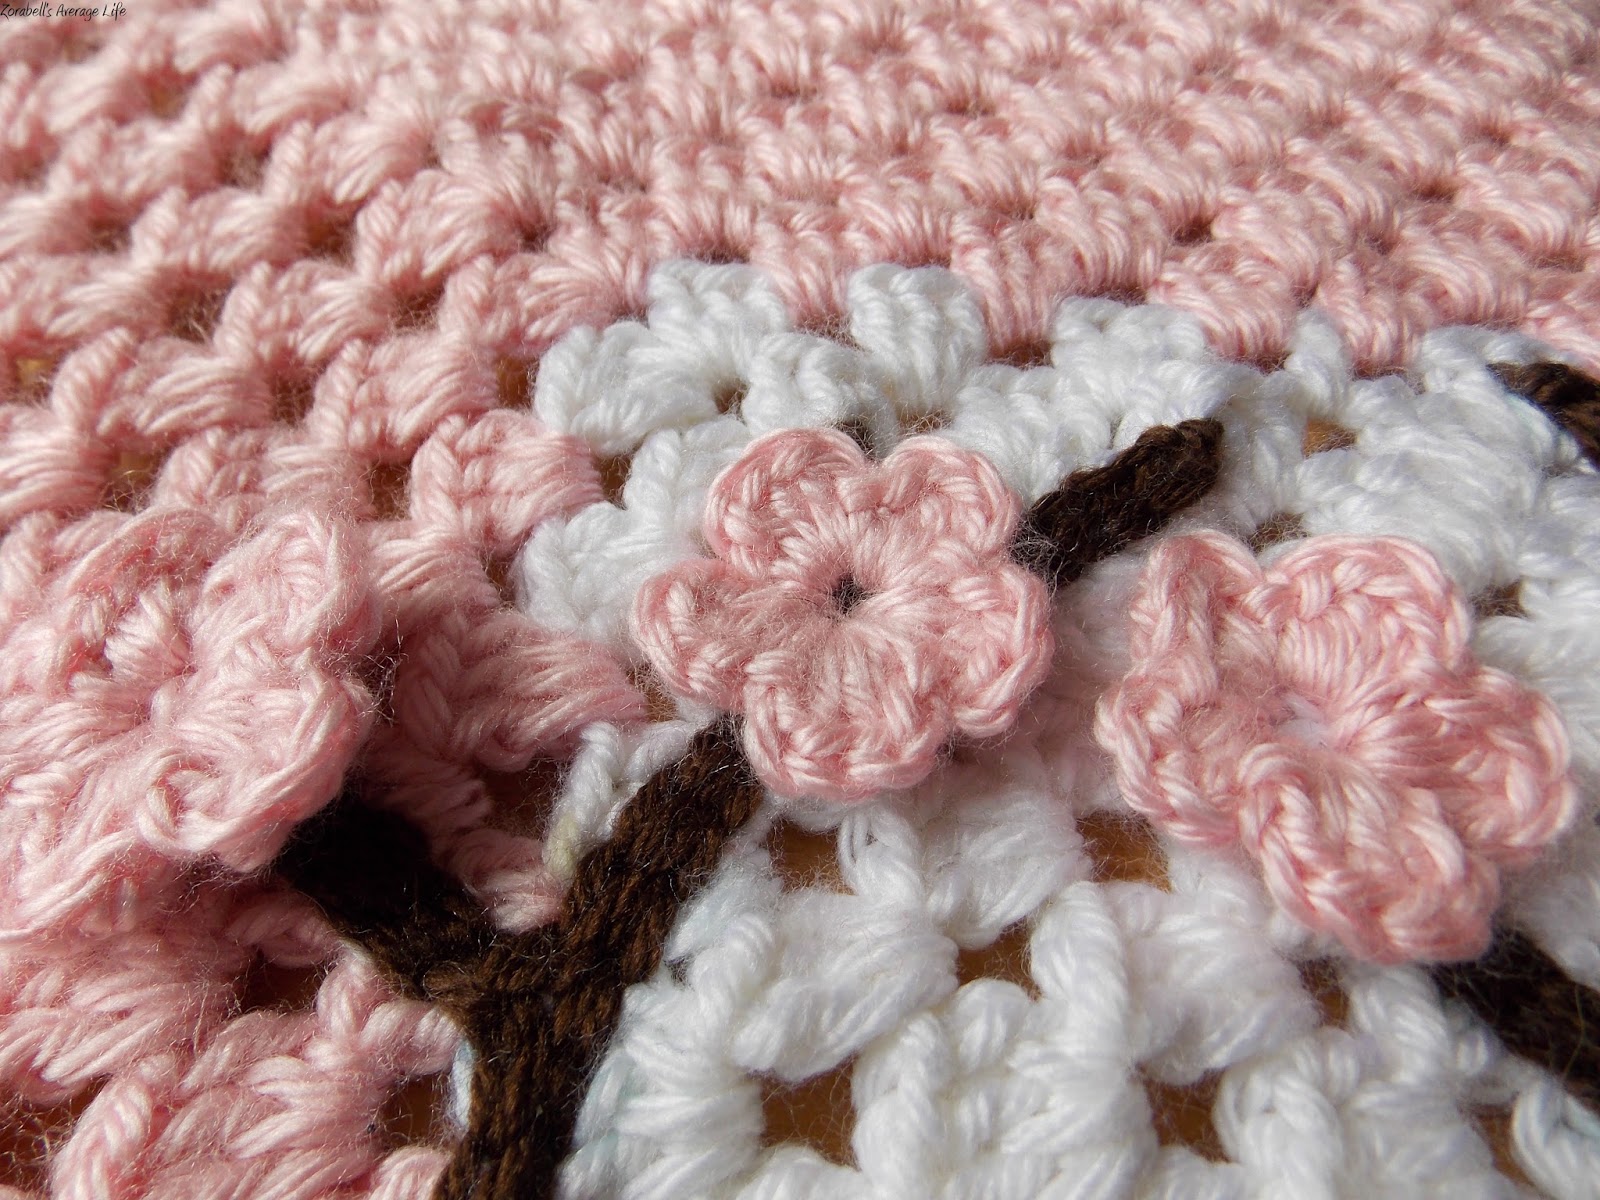
Cherry Blossom Blanket

I have been working on this blanket for a while and I thought it was finished but inspiration struck and I had to do more.
The basic blanket is a giant granny square, but I was left with a large white center that needed color. I always thought of this blanket as a neopolitian but lately I started thinking it would look nice with some cherry blossoms.

 
The yarns I used were:
Caron Simply Soft in White
Caron Simply Soft in Soft Pink
Red Heart Soft Yarn in Chocolate


Using a G hook I did 11 rounds of each color: 11 white, 11 pink, and 11 brown for a total of 33 rows.
The flowers are simply done so here is the pattern:
Start with a magic circle.
Chain 3 (count as first hdc), 2 dc, hdc, sl* repeat 4 times sl into 3rd ch. Leaving a long tail for sewing.

 
The branches are free form surface crochet that I based on several online photos of branches. The finished size is roughly 31in x 31in.

My cat was being a little stinker while I was doing photos and I normally would have trashed them but Ichigo was just too darn cute, so here they are.


Enjoy!

Wednesday, March 13, 2013

St. Tropez Tunic

I started this project a while ago but I finally finished my first crochet top. I used a pattern from my favorite crochet magazine Interweave Crochet, this pattern came from the Summer 2012 issue. The pattern is St. Tropez Tunic by Christina Mershon the pattern can be purchased as the digital edition of the magazine here for $6.99. I ended up using a vintage/discontinued yarn for this pattern and I almost ran out so I had to adjust the pattern a little but not enough to cause much of a difference. The yarn I used is Red Heart Lustersheen in Blue Ming, Red Heart still makes Lustersheen but I have no idea if it is the same as the one that I was using. To give you and idea of how old the yarn is it came from a store called Sprouse-Rietz which changed its name in to Sprouse! in 1989. So this yarn was made sometime before 1989, lucky me it have been working with a yarn that is as old as me if not older.


 The only modification that I did was the finishing seem on the shoulder, I ran out of yarn so I wasn't able to do 10 single crochet rows and instead I did 8 rows and slip stitched the seam closed.


 The tunic is comprised of 38 full motifs, 10 half motifs, and 4 quarter motifs. Here is one of the motifs close up.


 Here is the tunic all pinned and stretched out to dry.

Enjoy!

Wednesday, March 6, 2013

Lovers Knot Scarf

After seeing some pictures of a different kind of stitch/technique for crocheting I set out to make a new scarf. The Lover's Knot is sometimes also called Solomon's Knot, I fell in love with the way it looked so I hunted for a pattern that I could use. I came across a pattern called the Love Knot Scarf by Lucy Croft on Ravelry.com it is a free PDF pattern that I downloaded and went to look for a yarn in my stash that would work. I settled on this organic cotton, Nature's Choice Organic Cotton by Lion Brand Yarn in Strawberry. I only took a couple of photos but here is the scarf


I probably should have used a more delicate yarn or different hook size but I still think it looks great for my first try at it.


Sunday, November 11, 2012

Amigurumi Elephant

*Pattern moved from Zorabell's Average Life*


Elephant

Materials:
K hook, I hook
Worsted weight yarn
2 safety eyes
Stuffing
Yarn needle


BODY- using K hook
Start with the magic circle, working in a spiral pattern, mark the beginning of each row with a stitch marker
Row 1-Chain 1, sc 6 - 6 sts Leave a 6 inch yarn tail and do not weave in (will come in handy later ;) )
Row 2- 2 sc in each sc, around- 12 sts
Row 3- * Sc in next sc, 2 sc in next sc * rep from * around - 18 sts
Row 4-* Sc in next 2 sc, 2 sc in next sc * rep from * around. - 24 sts
Row 5- * Sc in next 3 sc, 2 sc in next sc * rep from * around. - 30 sts
Row 6- * Sc in next 4 sc, 2 sc in next sc * rep from * around. - 36 sts
Row 7- 19 - Sc in each sc around - 36 sts
Row 20 - * Sc in next 4 sc, dec 1 sc in next 2 sts * rep from * around. - 30 st
Row 21 -* Sc in next 3 sc, dec 1 sc in next 2 sts * rep from * around. - 24 sts
Row 22- * Sc in next 2 sts, dec 1 sc in next 2 sts * rep from * around - 18 sts
Make sure to leave a long tail for sewing,

HEAD- using K hook
working in a spiral pattern, mark the beginning of each row with a stitch marker
Chain 18 close into a ring with a sl st in first ch
Row 1- * Sc in next ch, 2 sc in next ch * rep from * around -27 sts
Row 2- * Sc in next 2 sc, 2 sc in next sc * rep from * around. - 36 sts
Row 3-5- Sc in each sc around - 36 sts
Row 6- * Sc in next 4 sc, dec 1 sc in next 2 sts * rep from * around. - 30 sts
Row 7 -* Sc in next 3 sc, dec 1 sc in next 2 sts * rep from * around. - 24 sts
Row 8- * Sc in next 2 sts, dec 1 sc in next 2 sts * rep from * around - 18 sts
Row 9- * Sc in next sc, dec 1 sc in next 2 sc * rep from * around - 12 sts
Row 10- Dec 1 sc in next 2 sts * rep from * around. ( 6 sc ).
Row 11- Dec 1 sc in next 2 sts, sl st in next st. Fasten off, leaving a long tail for sewing. Weave length through last rnd of sts, draw tight to close opening and secure.

LEGS (make 4)- Using I hook
Start with the magic circle, working in a spiral pattern
Row 1-Chain 1, sc 6 - 6 sts
Row 2- 2 sc in each sc, around- 12 sts
Row 3 -11 Sc in each sc around - 12 sts
sl st in next sc at end of last rnd, fasten off, leaving a long tail for sewing

Ears (make 2)- Using I hook
Chain 5
Row 1- 2 sc in 2nd chain from hook, sc in next 2 sc, 2 sc in last ch, ch 1, turn- 6 sts
Row 2- 2 sc in first sc, sc in next 4 sc, 2 sc in last sc, ch 1, turn- 8 sts
Row 3- 2 sc in first sc, sc in next 2 sc, dec 1 sc in next 2 sts, sc in next 2 sc, 2 sc in last sc, ch 1, turn- 9 sts
Row 4- 2 sc in first sc, sc in next 2 sc, dec 1 sc in next 2 sts, sc in next 3 sc, 2 sc in last sc, ch 1, turn- 10 sts
Row 5- 2 sc in first sc, sc in next 3 sc, dec 1 sc in next 2 sts, sc in next 4 sc, ch 1, turn- 10 sts
Row 6- 2 sc in first sc, sc in next 3 sc, dec 1 sc in next 2 sts, sc in next 4 sc- 10 sts
bind off and leave a long tail for sewing

Trunk- Using I hook
using a magic circle
Row 1- Chain 1, sc 5 - 5 sts
Row 2- 2 sc in each sc, around- 10 sts
Row 3-7- sc in each sc around- 10 sts
Row 8-10- sc in next 4 sc, dec 1 sc in next 2 sts, sc in next 3 sc, sc in next 4 sc- 10 sts
Row 11- *sc in next 4 sc, 2 sc in next sc * rep from * around- 12 sts
Row 12- *sc in next 5 sc, 2 sc in next sc * rep from * around- 14 sts
Row 13-14- sc in each sc around- 14 sts
bind off and leave a long tail for sewing

Tail
Before stuffing the body pull the starting tail to the inside and make a good size knot at the base, then using the yarn needle thread it back through the center hole. The knot should keep it anchored nicely. Then depending on how long you wish the elephants tail to be make a knot 1/2 inch to the end.

Assembly
Stuff the body as firm as you would like. Then before stuffing the head sew the trunk to head, roughly in the center. Next place the eyes evenly above the trunk and attach them. Stuff the head to the same firmness as the body and sew the body and head together. Next attach the legs to the underside of the body evenly. Next attach the ears to both sides of area where the body and head meet up. Weave in all ends an voila! Elephant!!! Enjoy!!!