Wednesday, September 4, 2013

Small Batch of Seasoned Saltines

I am not a real fan of saltines, for us they are reserved for when we are sick. This week I was working on going through the pantry to see what we are really using and to start getting rid of stuff that I can make from scratch. When I came across an open box of saltines I figured I could try out that recipe everyone keeps posting on Pinterest. But I had a problem the recipe calls for a whole box of saltines and a full packet of ranch which I didn't have. I finally found the recipe on Food.com (Here is the Link) the wonderful thing about Food.com is it has a feature that allows you to adjust the serving size of the recipe and it adjusts the recipe accordingly. Since I didn't know if I would like this recipe I only did a quarter of the original.

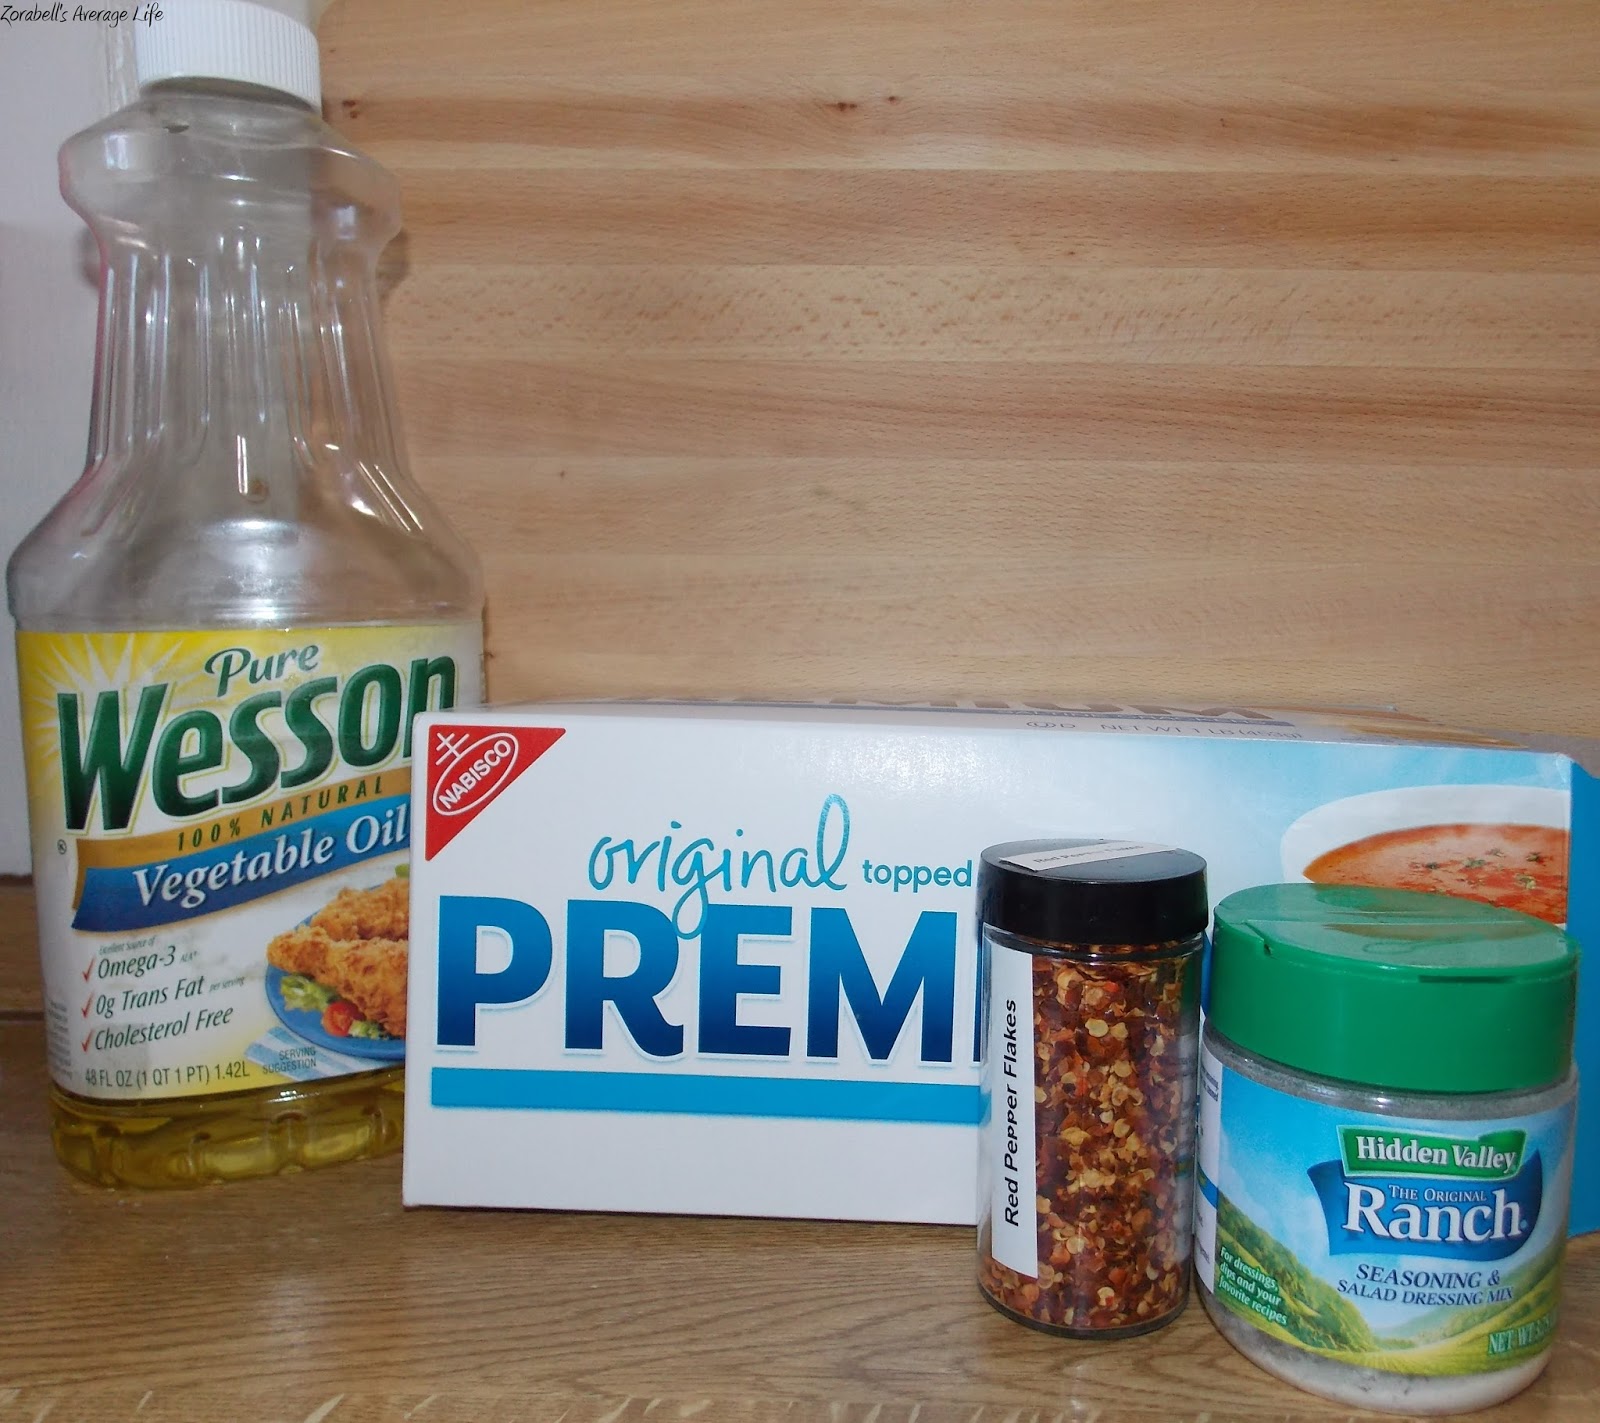
I forgot the garlic powder, oops!

Ingredients:
1 sleeve unsalted saltine crackers (I used salted, I like salt)
1/4 cup canola oil  (I used veggie oil)
1/4 ounce or 3/4 tablespoon of ranch dressing mix
1/2 tablespoon crushed red pepper flakes
1/8 teaspoon garlic powder


Mix all the seasoning ingredients in a bowl. 


Line up all your saltines in a sealable container.

Stir up the seasoning mix and spoon over the saltines.

Seal up your container and flip it over ever few minutes to distribute the seasoning evenly.

The original recipe said to store these in a Ziploc up to a week, but I am just leaving them in my container because I would rather not waste anymore plastic.

Honsetly these are so amazing and now I can't wait to make more!

Yum! Enjoy!

Tuesday, September 3, 2013

Pirate Bay Rum Bottle Tutorial

Pirate Bay Rum!!!

I am starting to get ready for our first Pirate Rum Party for Halloween so I have been hitting the on-post thrift store to find things I can use. I was getting ready to check out when I noticed this beautiful brown bottle just sitting there screaming buy me, so I did. It was going to be a great prop for the tablescape or around where the food will be. I paid $4 for it, a bit much I know but didn't know where else to get a bottle this awesome.


The materials I used are:
Tim Holtz Distressed Ink in Walnut Stain
Tim Holtz Adirondack Alcohol Ink Applicator
Mod Podge Gloss (I suggest using matte, but this is all I had on hand)
Brush
Computer paper
Large scrap paper to work on 
Bottle

The first step that I do is give the paper a distressed look before printing my label on it. Using the applicator I gently tap the ink pad and starting from the outer edge of the paper I work in little circles. Try not to press down too hard on the applicator or you might get dark blotches and lines from the felt fibers on the applicator. My tip is to avoid starting on the paper but on the scrap paper and work your way in, this helps to keep the really saturated blotches under control and allows you to build up the distress look slowly.


Now that, that part is done it is time to work on your label. I experimented with the fonts in Microsoft Word and found that Blackadder ITC worked the best for this project, next came the task of finding a picture to put on the label. I couldn't decide what I wanted to do so I just searched online until I found a suitable image (preferably black and white) to add to the label. The label I made is really simple since I don't have Photoshop or anything similar, feel free to make something more awesome if you have the skills. I did use the Pencil Grayscale Artistic Effect on the image so it looked like a hand drawn image.


Next print the label out onto your distressed paper, make sure to load the paper so it prints on the correct side. Each printer is different so if you are unsure refer to your manual or do a test print.


Once the label is printed carefully tear the paper around the printed area to give the label a more worn look.

Before and after final distressing

After that is done it is time to distress the label again, you don't want any of the white on the edge to show. You can keep layering the amount of color until you get it looking the way you want.

Four finished labels

Time to attach the label to the bottle. Using your mod podge, brush the entire back of the label so it is all covered. Then carefully apply to the bottle, I noticed after it was attached the edge of the label got a little messed up so I just used the applicator(with the remaining ink on it) and ran it around the label so the edges were fixed. Make sure to smooth the label down really well to make sure it sticks. Now if you want you can seal the label with a coat of mod podge but I skipped that since I only had glossy and I wanted the worn look.


It is now finished and ready for all you decorating needs!

Enjoy!