Showing posts with label pattern. Show all posts

Monday, August 26, 2013

Bar Stool Cover

I have this amazing bar stool in my craft room that my late Grandma Mimi painted but it isn't comfortable so I have been playing with the idea of making a cover or cushion for it. After a quick search on Pinterest to see if there was a tutorial for what I wanted I realized that I was just going to have to wing it using this tutorial from Camp Clem as a rough guide.

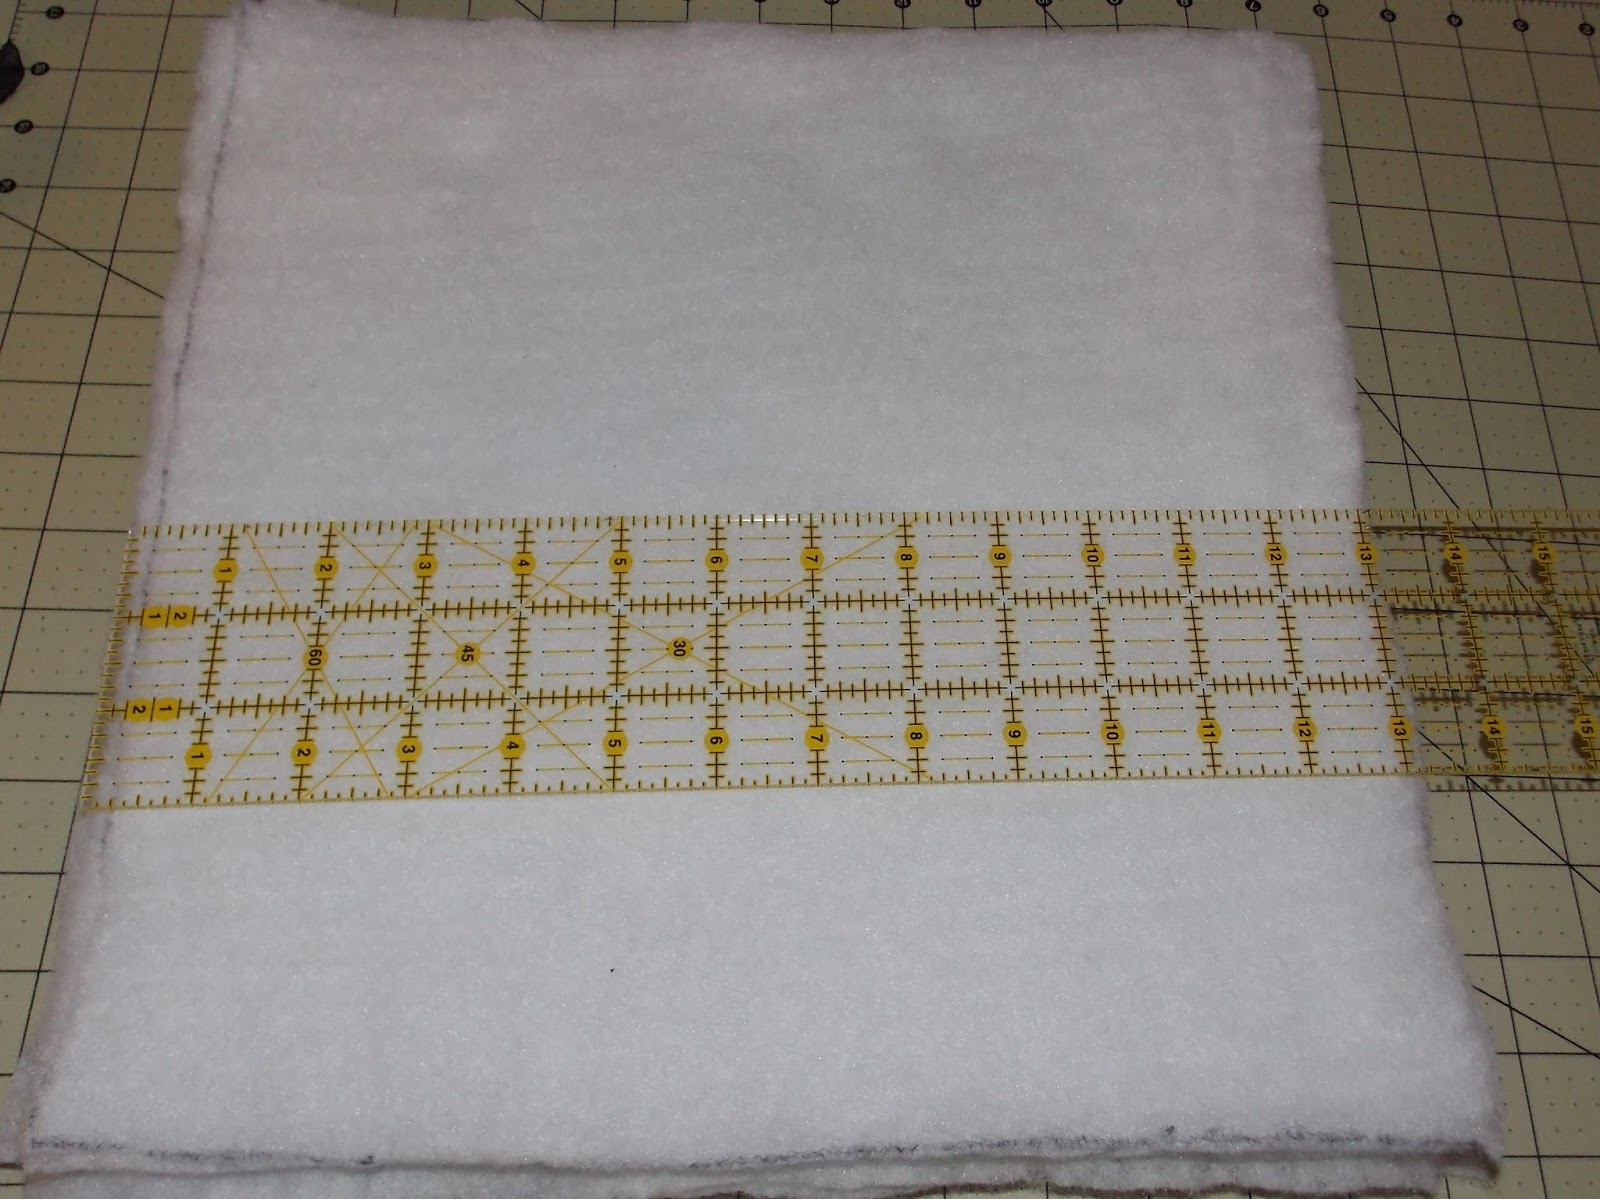
To start I measured top of the stool, at the widest part measured 13 inches. I then set out to make the "cushion", the cushion is actually 9 layers of Poly-Fil Traditional® Quilt Batting. I would suggest using a foam cushion but I am working on using what I have on hand. I cut 9, 13" squares of the batting and layered them using spray adhesive to keep them together.


I let them set-up for a bit then I took the top of my stool of and traced around it. Then using a pair of crummy scissors I cut out a rough circle.


Now that the "cushion" is finished it is time to focus on the cover. I made a 13" circle template and from that I made a 15" circle template, using this template I traced out the 15" circle on to my fabric of choice and cut it out. The fabric I am using is Michael Miller's Hoopla Dots, it is also the same fabric I used on my craft chair that you might have seen in my Sprocket Pillow post.

The next step is to cut the sides of the cover. The way that I am making this cover means that I have to create a hem for an elastic band. For the width I guessed at how wide I needed it, so I made it 6" wide. I am using leftover fabric from recovering my craft chair, normally I would suggest cutting the fabric selvage to selvage but since I have limited fabric I just used what I could.

I cut 3. 6"x 21" strips just to make sure I had enough fabric, if you are cutting selvage to selvage you would only need 2 strips because most fabric is 36" or wider.

Now to on to the sewing!

Pin your strips right side together and sew them so you get a nice long strip. Next start pinning your sides to the top of the cover. To start fold over 1/2" on one end of your strip, this is so the raw edge will be hidden when you close up the side. Then pin it all the way around the circle making sure right sides are together. When you reach the end make sure you have 1" overlap and trim excess fabric, then finish pinning the extra 1" overlap.


Sew with a 5/8" seam. When you finish sewing the side to the circle you are basically going to top stitch the side seam closed.

Once that is finished it is time to cut the elastic, I used 3/8" elastic but you can use 1/2" if you want. To measured my elastic by wrapping it around the upper portion of the stool legs right underneath the seat and cut it so I had about a 2" overlap. Using a zigzag stitch I stitched the ends of the elastic together.

After trying the unfinished cover on the stool I realized that I may have over estimated how wide to make the sides so I needed to use up the excess. I started by folding over about 1" of fabric and placing the elastic in between to create the hem. I used the edge of my presser foot as a guide and kept my fabric lined up with it and the 1" mark on my machine, I had to stop several times to adjust the fabric because it will bunch up.


Here it is in all it's glory...or not. I realized that after making this one that I need to change my sizes, I probably should have only done a 14" circle and maybe a 4" wide sides. Since it was my first try at making a cover for my stool I think I did good, next time I'll try making it smaller.


Now here it is in action!

Before and After

Tuesday, August 20, 2013

Cast Iron Handle Cover

This is a crochet pattern I had up on my first blog and I am finally moving it to this blog where it belongs.

*Pattern moved from Zorabell's Average Life* Originally Published on 9/20/2010


This pattern is for a simple plain handle cover for my new cast iron skillet. I needed one quickly last night so that I could use my skillet and I was unable to find a free one that I liked. The pattern fits a Lodge cast iron skillet snug, if you need to go up a hook size for your handle then please do so.


Materials:
Worsted weight cotton yarn
G hook

Pattern is worked in a spiral

Row 1- Start with a magic circle and sc 5 times, do not slip stitch into the first stitch- 5 sts
Row 2- 2 sc in each sc, around- 10 sts
Row 3- * Sc in next sc, 2 sc in next sc * rep from * around - 15 sts
Row 4- * Sc in next 2 sc, 2 sc in next sc * rep from * around - 20 sts
Rows 5-7- Sc in each sc around - 20 sts
Row 8- *Sc in next 8 sc, dec 1 sc in next 2 sc* rep from * around- 18 sts
Row 9- *Sc in next 7 sc, dec 1 sc in next 2 sc* rep from * around- 16 sts
Row 10- *Sc in next 6 sc, dec 1 sc in next 2 sc* rep from * around- 14 sts
Rows 11-29- Sc in each sc around- 14 sts

make long enough for your handle, bind off and weave in ends

Sunday, August 18, 2013

Reversible Wrap Skirt

Reversible Wrap Skirt

A little less than 2 weeks ago I attended a sewing class taught by a new instructor on post and the project we made was a skirt. In this class we learned how to make a pattern based on our own measurements, how to make non-bias tape, and button holes.

I figured I might as well share the process, it will also be a great way to refer to the pattern if my pattern pieces disappear.

Basic measurements all measurements are in inches. (I am going to use made up numbers since my real measurements scare me sometimes)
Waist: A =24
Hips: B =36
Waist to Hip Length: C =6
Desired Length: D =20

Now the tricky stuff:
V: (A+2)/4  =6.5
W: (B+2)/4 =9.5
X: C+1.5 =7.5
Y: D+2.5 =22.5
Z: W+3 =12.5

Okay so now the if I didn't confuse you, I made a diagram on how the measurements are laid out for the Back piece of the 3 panel skirt. The unlabeled section is just a connecting line from the end of W to the end of Z.


Now using the Back pattern as a guide add 6 inches to the straight side to create the Front pattern pieces.


Basic construction of the skirt is this pin the angled sides of the skirt together using a 5/8" seam, sew together for both Fabric A and Fabric B. Once all three panels are sewn together press open the seams. Now you will need to pin both sets of panels together pin along the sides and bottom leaving the waist area open for turning. Turn the skirt inside out and press it flat, once pressed top stitch all the way around (sides and bottom.)

Close up of the top stitching on the front panel

The next step is to make the waistband and ties, using extra fabric cut 4 inch strips of fabric, going from selvage to selvage, roughly 45" long or whatever the width of your fabric is. This is cut with the grain instead of on the bias which means that the fabric won't stretch. I did 3 strips just to make sure I had enough but 2 should be enough for average sized women.

Sew the strips together, seams can be any size desired,  then press the seams to the side. Now that you have a really long strip of fabric you are going to iron it in half, open it up and fold the sides to center, iron, then fold in half and iron again. You iron it like you would for double fold bias tape but if you don't know the basics of bias tape this link has some good illustrations on how to do it with out the bias tape making tool.

The last step is to attach the non-bias tape to the skirt. To start fold one end of the non-bias tape in 1/2" and pin. Measure 20" from the end that you just pinned either place a pin or mark there because that is where you will start attaching it to the skirt. Pin the non-bias tape all the way around the waist portion of the skirt making sure that the fabric is sandwiched all the way into the non-bias tape. Now while the skirt is pinned together you are going to carefully try it on to see if you need to trim the other end to the tie.

To wear the skirt properly line the side seams up on you sides and the front panel with the longer tie is going to wrap around the back of the skirt to the front. This is where you will carefully tie it together to check the tie length. If it is to long just cut off the excess, if not proceed to fold the end in like you did before. Carefully remove the skirt and sew the ties and waistband with a minimum 1/4" seam (1/4" from the bottom of the non-bias tape.)

Reverse side of the skirt to show the contrast waistband

The skirt is almost finished! But if you noticed how awkward it was wrapping the skirt around,for example the longer tie having to come up from under the front panel. This is where learning how to make a buttonhole comes in. Now you get to try on your skirt again and this time you are going to mark where you would like the tie to come through the waistband. I suggest at least a 1/2" buttonhole opening to make sure you can pass the tie through easily. My instructor recommend making more than one buttonhole, one to make the skirt tighter and one to make the skirt looser. This makes the skirt easily adjustable for weight loss/weight gain or if you are making it as a gift for someone and had to guess on the measurements.

I would tell you how to do a buttonhole but this was my first time making them so I suggest searching online for a tutorial that will help you.

Here is the finished project! 
If you have any questions leave a comment and I'll try to answer the best I can.

Enjoy!


Wednesday, March 13, 2013

St. Tropez Tunic

I started this project a while ago but I finally finished my first crochet top. I used a pattern from my favorite crochet magazine Interweave Crochet, this pattern came from the Summer 2012 issue. The pattern is St. Tropez Tunic by Christina Mershon the pattern can be purchased as the digital edition of the magazine here for $6.99. I ended up using a vintage/discontinued yarn for this pattern and I almost ran out so I had to adjust the pattern a little but not enough to cause much of a difference. The yarn I used is Red Heart Lustersheen in Blue Ming, Red Heart still makes Lustersheen but I have no idea if it is the same as the one that I was using. To give you and idea of how old the yarn is it came from a store called Sprouse-Rietz which changed its name in to Sprouse! in 1989. So this yarn was made sometime before 1989, lucky me it have been working with a yarn that is as old as me if not older.


 The only modification that I did was the finishing seem on the shoulder, I ran out of yarn so I wasn't able to do 10 single crochet rows and instead I did 8 rows and slip stitched the seam closed.


 The tunic is comprised of 38 full motifs, 10 half motifs, and 4 quarter motifs. Here is one of the motifs close up.


 Here is the tunic all pinned and stretched out to dry.

Enjoy!

Sunday, November 11, 2012

Amigurumi Elephant

*Pattern moved from Zorabell's Average Life*


Elephant

Materials:
K hook, I hook
Worsted weight yarn
2 safety eyes
Stuffing
Yarn needle


BODY- using K hook
Start with the magic circle, working in a spiral pattern, mark the beginning of each row with a stitch marker
Row 1-Chain 1, sc 6 - 6 sts Leave a 6 inch yarn tail and do not weave in (will come in handy later ;) )
Row 2- 2 sc in each sc, around- 12 sts
Row 3- * Sc in next sc, 2 sc in next sc * rep from * around - 18 sts
Row 4-* Sc in next 2 sc, 2 sc in next sc * rep from * around. - 24 sts
Row 5- * Sc in next 3 sc, 2 sc in next sc * rep from * around. - 30 sts
Row 6- * Sc in next 4 sc, 2 sc in next sc * rep from * around. - 36 sts
Row 7- 19 - Sc in each sc around - 36 sts
Row 20 - * Sc in next 4 sc, dec 1 sc in next 2 sts * rep from * around. - 30 st
Row 21 -* Sc in next 3 sc, dec 1 sc in next 2 sts * rep from * around. - 24 sts
Row 22- * Sc in next 2 sts, dec 1 sc in next 2 sts * rep from * around - 18 sts
Make sure to leave a long tail for sewing,

HEAD- using K hook
working in a spiral pattern, mark the beginning of each row with a stitch marker
Chain 18 close into a ring with a sl st in first ch
Row 1- * Sc in next ch, 2 sc in next ch * rep from * around -27 sts
Row 2- * Sc in next 2 sc, 2 sc in next sc * rep from * around. - 36 sts
Row 3-5- Sc in each sc around - 36 sts
Row 6- * Sc in next 4 sc, dec 1 sc in next 2 sts * rep from * around. - 30 sts
Row 7 -* Sc in next 3 sc, dec 1 sc in next 2 sts * rep from * around. - 24 sts
Row 8- * Sc in next 2 sts, dec 1 sc in next 2 sts * rep from * around - 18 sts
Row 9- * Sc in next sc, dec 1 sc in next 2 sc * rep from * around - 12 sts
Row 10- Dec 1 sc in next 2 sts * rep from * around. ( 6 sc ).
Row 11- Dec 1 sc in next 2 sts, sl st in next st. Fasten off, leaving a long tail for sewing. Weave length through last rnd of sts, draw tight to close opening and secure.

LEGS (make 4)- Using I hook
Start with the magic circle, working in a spiral pattern
Row 1-Chain 1, sc 6 - 6 sts
Row 2- 2 sc in each sc, around- 12 sts
Row 3 -11 Sc in each sc around - 12 sts
sl st in next sc at end of last rnd, fasten off, leaving a long tail for sewing

Ears (make 2)- Using I hook
Chain 5
Row 1- 2 sc in 2nd chain from hook, sc in next 2 sc, 2 sc in last ch, ch 1, turn- 6 sts
Row 2- 2 sc in first sc, sc in next 4 sc, 2 sc in last sc, ch 1, turn- 8 sts
Row 3- 2 sc in first sc, sc in next 2 sc, dec 1 sc in next 2 sts, sc in next 2 sc, 2 sc in last sc, ch 1, turn- 9 sts
Row 4- 2 sc in first sc, sc in next 2 sc, dec 1 sc in next 2 sts, sc in next 3 sc, 2 sc in last sc, ch 1, turn- 10 sts
Row 5- 2 sc in first sc, sc in next 3 sc, dec 1 sc in next 2 sts, sc in next 4 sc, ch 1, turn- 10 sts
Row 6- 2 sc in first sc, sc in next 3 sc, dec 1 sc in next 2 sts, sc in next 4 sc- 10 sts
bind off and leave a long tail for sewing

Trunk- Using I hook
using a magic circle
Row 1- Chain 1, sc 5 - 5 sts
Row 2- 2 sc in each sc, around- 10 sts
Row 3-7- sc in each sc around- 10 sts
Row 8-10- sc in next 4 sc, dec 1 sc in next 2 sts, sc in next 3 sc, sc in next 4 sc- 10 sts
Row 11- *sc in next 4 sc, 2 sc in next sc * rep from * around- 12 sts
Row 12- *sc in next 5 sc, 2 sc in next sc * rep from * around- 14 sts
Row 13-14- sc in each sc around- 14 sts
bind off and leave a long tail for sewing

Tail
Before stuffing the body pull the starting tail to the inside and make a good size knot at the base, then using the yarn needle thread it back through the center hole. The knot should keep it anchored nicely. Then depending on how long you wish the elephants tail to be make a knot 1/2 inch to the end.

Assembly
Stuff the body as firm as you would like. Then before stuffing the head sew the trunk to head, roughly in the center. Next place the eyes evenly above the trunk and attach them. Stuff the head to the same firmness as the body and sew the body and head together. Next attach the legs to the underside of the body evenly. Next attach the ears to both sides of area where the body and head meet up. Weave in all ends an voila! Elephant!!! Enjoy!!!