This layout used Crazy for Cupcakes, Simple Birthday Thanks, and Happiest Birthday Wishes stamp sets from Stampin' Up. I am not familiar with the paper used since this layout was done in a class but I know some of it is from the Brights collection from Stampin' Up.
Wednesday, October 23, 2013
Tuesday, October 22, 2013
Hawaii Layout
Several months ago we did this Hawaiian inspired layout which is going to be the starting point for my Hawaii scrapbook. The sunset page was made using Stampin' up inks with sponge daubers. The other page we used the "Do the Hulu" stamp set from Stampin" up, the stamp set is retired/discontinued but you can usually find it on ebay.
Monday, October 21, 2013
Oktoberfest Layout
During our last scrapbooking party we did an Oktoberfest layout. It is perfect for our trip to Oktoberfest and I plan on using it very soon.
Sunday, October 20, 2013
Fall and Halloween Layouts
It has been a while since I posted the scrapbooking layouts so here are just a few we did the last couple of months. The majority of stuff used is from Stampin' Up but a few things come from a local craft store called Idee.
| Fall - Owl Layout |
| Fall - Leaf Layout |
| Halloween - Bats Layout |
| Halloween - Fancy Skull Layout |
Wednesday, September 4, 2013
Small Batch of Seasoned Saltines
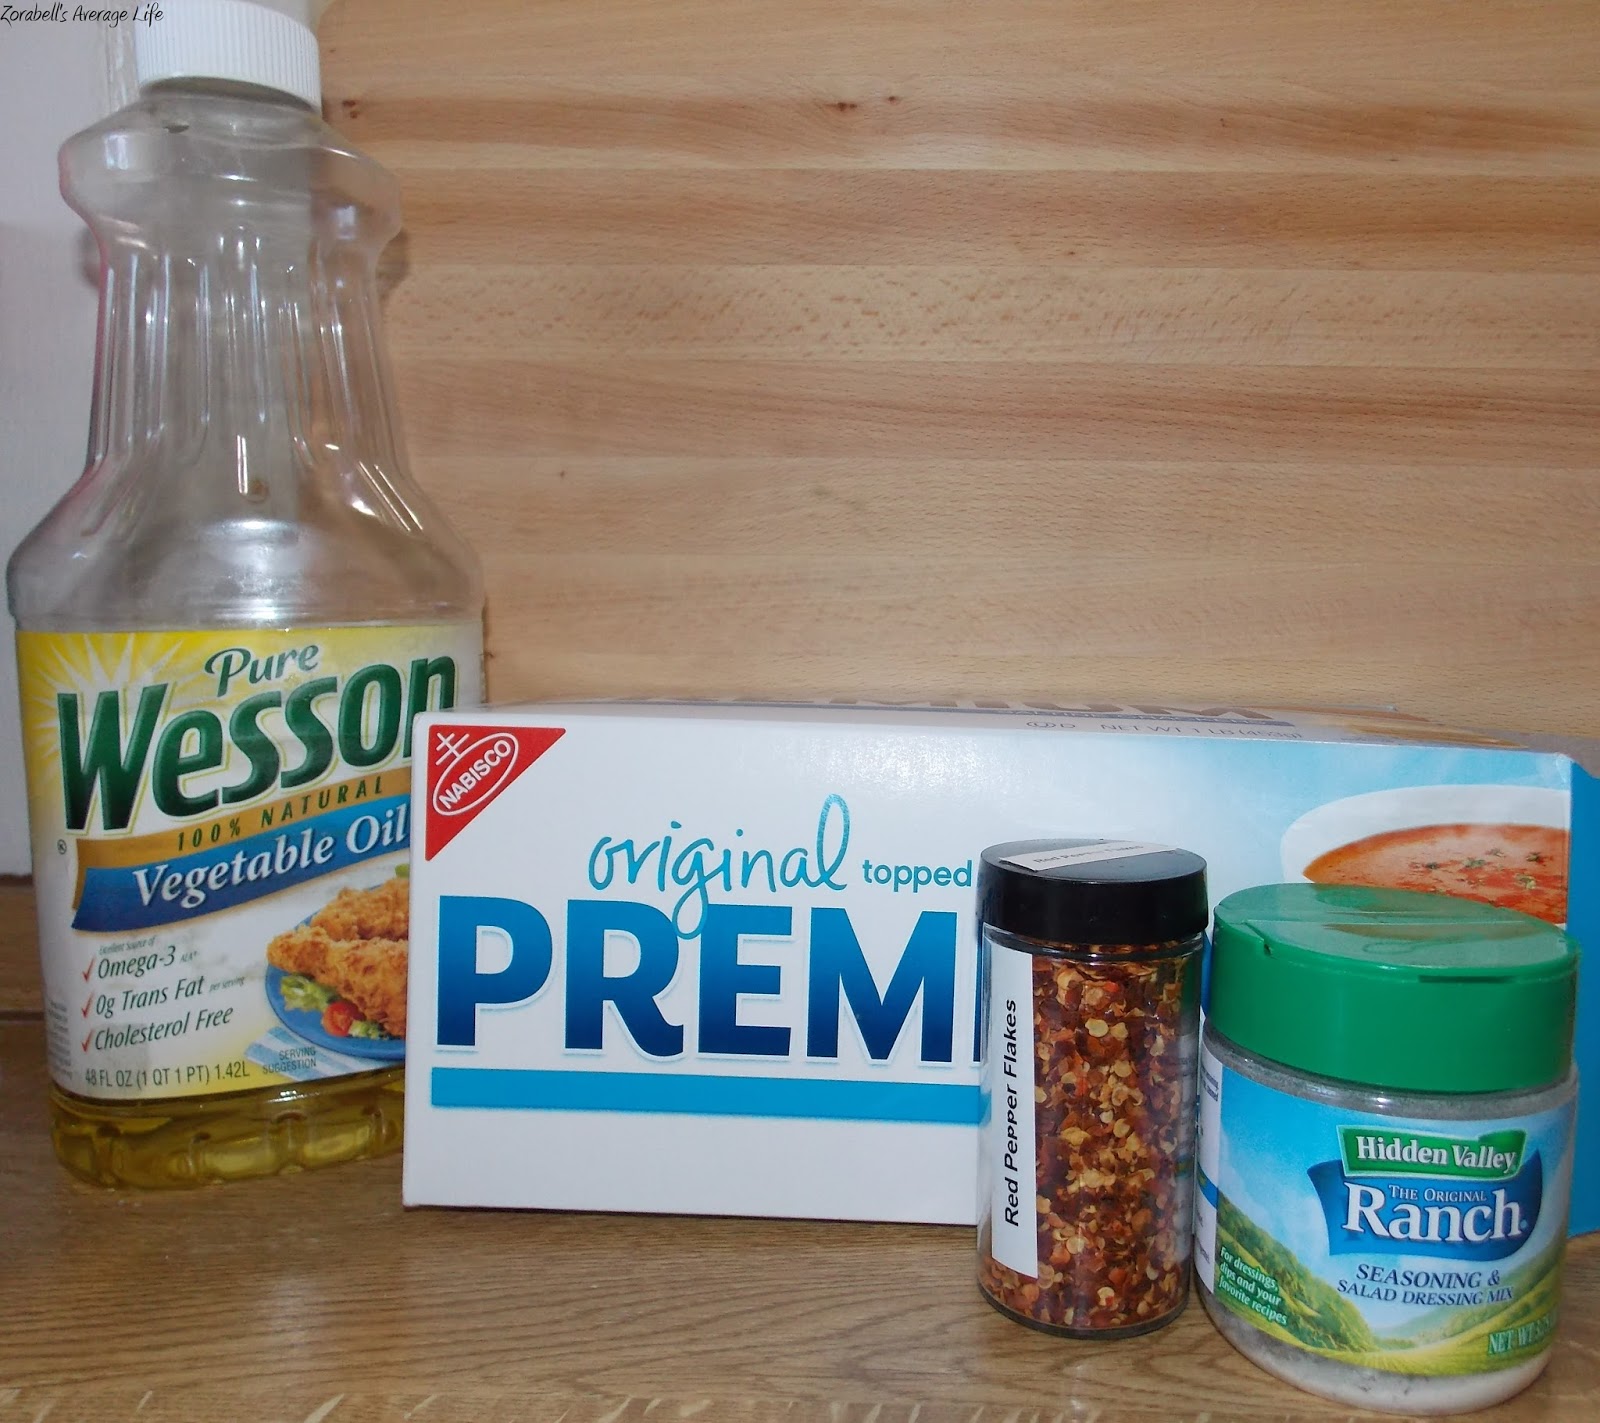
I am not a real fan of saltines, for us they are reserved for when we are sick. This week I was working on going through the pantry to see what we are really using and to start getting rid of stuff that I can make from scratch. When I came across an open box of saltines I figured I could try out that recipe everyone keeps posting on Pinterest. But I had a problem the recipe calls for a whole box of saltines and a full packet of ranch which I didn't have. I finally found the recipe on Food.com (Here is the Link) the wonderful thing about Food.com is it has a feature that allows you to adjust the serving size of the recipe and it adjusts the recipe accordingly. Since I didn't know if I would like this recipe I only did a quarter of the original.
| I forgot the garlic powder, oops! |
Ingredients:
1 sleeve unsalted saltine crackers (I used salted, I like salt)
1/4 cup canola oil (I used veggie oil)
1/4 ounce or 3/4 tablespoon of ranch dressing mix
1/2 tablespoon crushed red pepper flakes
1/8 teaspoon garlic powder
1/2 tablespoon crushed red pepper flakes
1/8 teaspoon garlic powder
Mix all the seasoning ingredients in a bowl.
Line up all your saltines in a sealable container.
Stir up the seasoning mix and spoon over the saltines.
Seal up your container and flip it over ever few minutes to distribute the seasoning evenly.
The original recipe said to store these in a Ziploc up to a week, but I am just leaving them in my container because I would rather not waste anymore plastic.
Honsetly these are so amazing and now I can't wait to make more!
Tuesday, September 3, 2013
Pirate Bay Rum Bottle Tutorial
| Pirate Bay Rum!!! |
I am starting to get ready for our first Pirate Rum Party for Halloween so I have been hitting the on-post thrift store to find things I can use. I was getting ready to check out when I noticed this beautiful brown bottle just sitting there screaming buy me, so I did. It was going to be a great prop for the tablescape or around where the food will be. I paid $4 for it, a bit much I know but didn't know where else to get a bottle this awesome.
The materials I used are:
Tim Holtz Distressed Ink in Walnut Stain
Tim Holtz Adirondack Alcohol Ink Applicator
Mod Podge Gloss (I suggest using matte, but this is all I had on hand)
Brush
Computer paper
Large scrap paper to work on
Bottle
The first step that I do is give the paper a distressed look before printing my label on it. Using the applicator I gently tap the ink pad and starting from the outer edge of the paper I work in little circles. Try not to press down too hard on the applicator or you might get dark blotches and lines from the felt fibers on the applicator. My tip is to avoid starting on the paper but on the scrap paper and work your way in, this helps to keep the really saturated blotches under control and allows you to build up the distress look slowly.
Now that, that part is done it is time to work on your label. I experimented with the fonts in Microsoft Word and found that Blackadder ITC worked the best for this project, next came the task of finding a picture to put on the label. I couldn't decide what I wanted to do so I just searched online until I found a suitable image (preferably black and white) to add to the label. The label I made is really simple since I don't have Photoshop or anything similar, feel free to make something more awesome if you have the skills. I did use the Pencil Grayscale Artistic Effect on the image so it looked like a hand drawn image.
Next print the label out onto your distressed paper, make sure to load the paper so it prints on the correct side. Each printer is different so if you are unsure refer to your manual or do a test print.
Once the label is printed carefully tear the paper around the printed area to give the label a more worn look.
| Before and after final distressing |
After that is done it is time to distress the label again, you don't want any of the white on the edge to show. You can keep layering the amount of color until you get it looking the way you want.
| Four finished labels |
Time to attach the label to the bottle. Using your mod podge, brush the entire back of the label so it is all covered. Then carefully apply to the bottle, I noticed after it was attached the edge of the label got a little messed up so I just used the applicator(with the remaining ink on it) and ran it around the label so the edges were fixed. Make sure to smooth the label down really well to make sure it sticks. Now if you want you can seal the label with a coat of mod podge but I skipped that since I only had glossy and I wanted the worn look.
It is now finished and ready for all you decorating needs!
![]() |
| Enjoy! |
Monday, August 26, 2013
Bar Stool Cover
I have this amazing bar stool in my craft room that my late Grandma Mimi painted but it isn't comfortable so I have been playing with the idea of making a cover or cushion for it. After a quick search on Pinterest to see if there was a tutorial for what I wanted I realized that I was just going to have to wing it using this tutorial from Camp Clem as a rough guide.
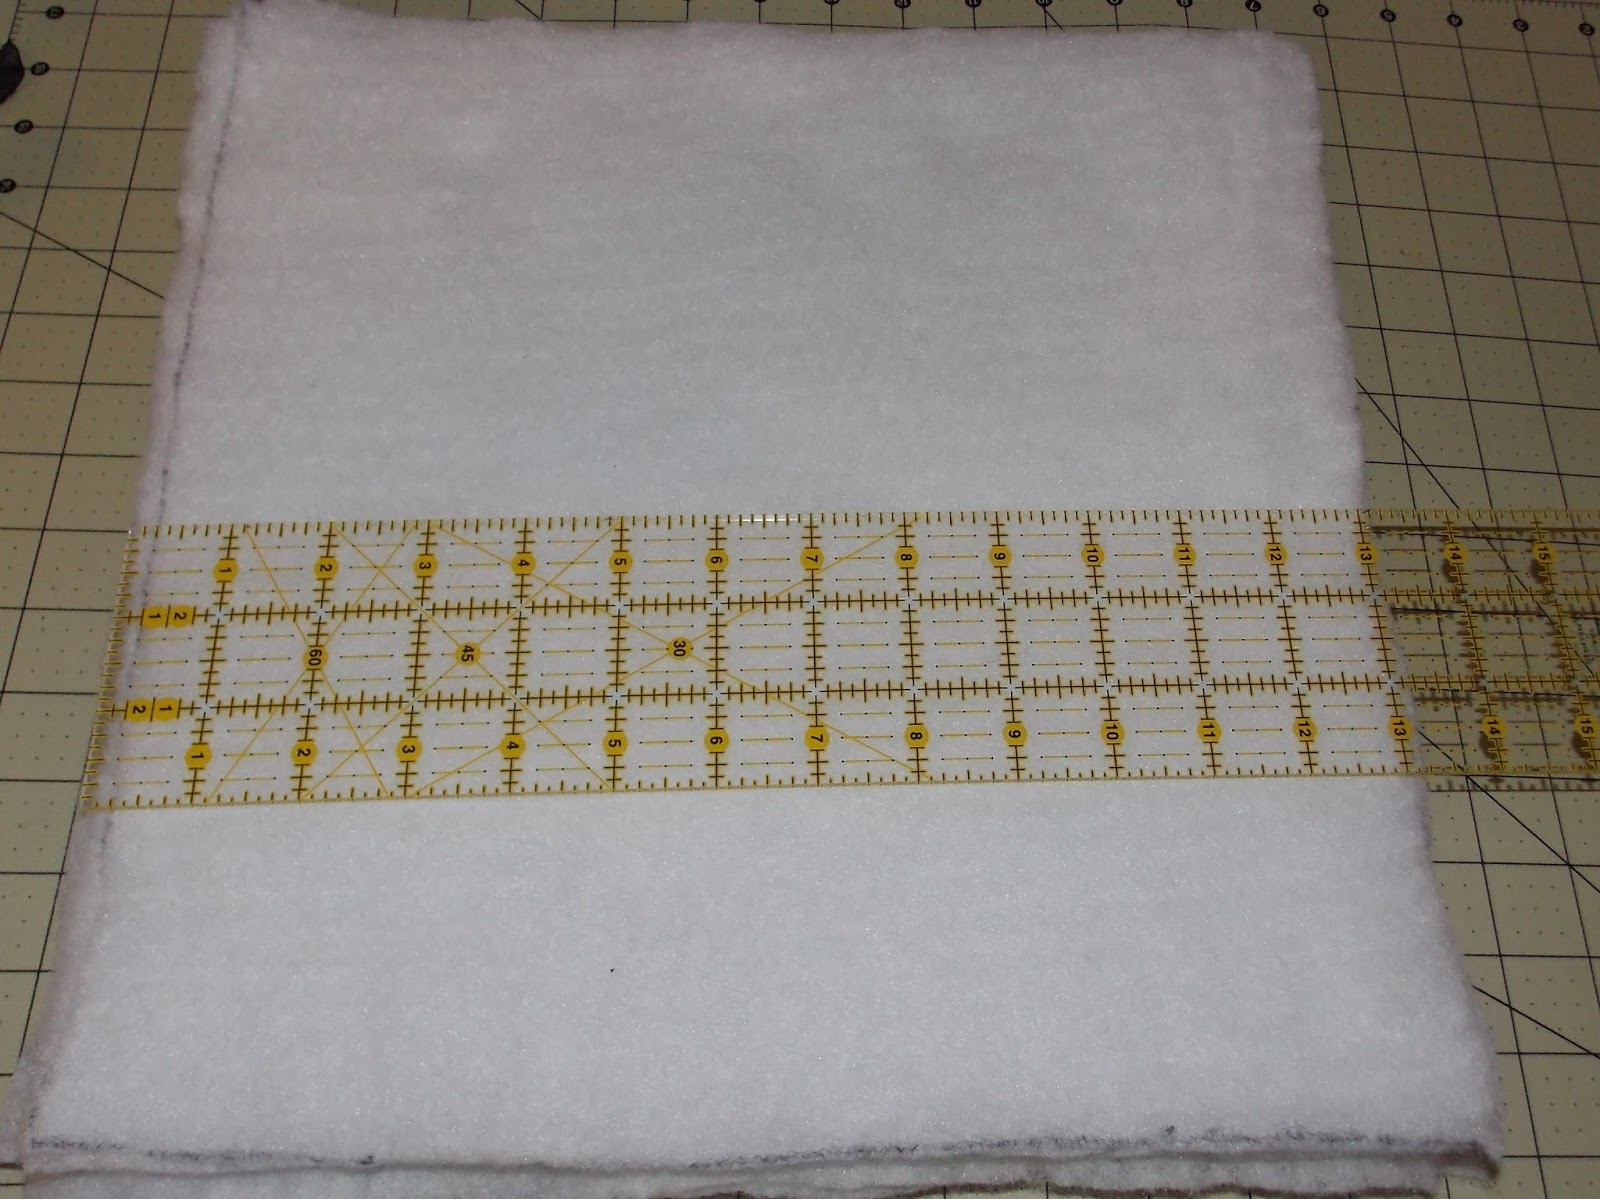
To start I measured top of the stool, at the widest part measured 13 inches. I then set out to make the "cushion", the cushion is actually 9 layers of Poly-Fil Traditional® Quilt Batting. I would suggest using a foam cushion but I am working on using what I have on hand. I cut 9, 13" squares of the batting and layered them using spray adhesive to keep them together.
I let them set-up for a bit then I took the top of my stool of and traced around it. Then using a pair of crummy scissors I cut out a rough circle.
Now that the "cushion" is finished it is time to focus on the cover. I made a 13" circle template and from that I made a 15" circle template, using this template I traced out the 15" circle on to my fabric of choice and cut it out. The fabric I am using is Michael Miller's Hoopla Dots, it is also the same fabric I used on my craft chair that you might have seen in my Sprocket Pillow post.
The next step is to cut the sides of the cover. The way that I am making this cover means that I have to create a hem for an elastic band. For the width I guessed at how wide I needed it, so I made it 6" wide. I am using leftover fabric from recovering my craft chair, normally I would suggest cutting the fabric selvage to selvage but since I have limited fabric I just used what I could.
I cut 3. 6"x 21" strips just to make sure I had enough fabric, if you are cutting selvage to selvage you would only need 2 strips because most fabric is 36" or wider.
Now to on to the sewing!
Pin your strips right side together and sew them so you get a nice long strip. Next start pinning your sides to the top of the cover. To start fold over 1/2" on one end of your strip, this is so the raw edge will be hidden when you close up the side. Then pin it all the way around the circle making sure right sides are together. When you reach the end make sure you have 1" overlap and trim excess fabric, then finish pinning the extra 1" overlap.
Sew with a 5/8" seam. When you finish sewing the side to the circle you are basically going to top stitch the side seam closed.
Once that is finished it is time to cut the elastic, I used 3/8" elastic but you can use 1/2" if you want. To measured my elastic by wrapping it around the upper portion of the stool legs right underneath the seat and cut it so I had about a 2" overlap. Using a zigzag stitch I stitched the ends of the elastic together.
After trying the unfinished cover on the stool I realized that I may have over estimated how wide to make the sides so I needed to use up the excess. I started by folding over about 1" of fabric and placing the elastic in between to create the hem. I used the edge of my presser foot as a guide and kept my fabric lined up with it and the 1" mark on my machine, I had to stop several times to adjust the fabric because it will bunch up.
Here it is in all it's glory...or not. I realized that after making this one that I need to change my sizes, I probably should have only done a 14" circle and maybe a 4" wide sides. Since it was my first try at making a cover for my stool I think I did good, next time I'll try making it smaller.
Now here it is in action!
To start I measured top of the stool, at the widest part measured 13 inches. I then set out to make the "cushion", the cushion is actually 9 layers of Poly-Fil Traditional® Quilt Batting. I would suggest using a foam cushion but I am working on using what I have on hand. I cut 9, 13" squares of the batting and layered them using spray adhesive to keep them together.
I let them set-up for a bit then I took the top of my stool of and traced around it. Then using a pair of crummy scissors I cut out a rough circle.
Now that the "cushion" is finished it is time to focus on the cover. I made a 13" circle template and from that I made a 15" circle template, using this template I traced out the 15" circle on to my fabric of choice and cut it out. The fabric I am using is Michael Miller's Hoopla Dots, it is also the same fabric I used on my craft chair that you might have seen in my Sprocket Pillow post.
The next step is to cut the sides of the cover. The way that I am making this cover means that I have to create a hem for an elastic band. For the width I guessed at how wide I needed it, so I made it 6" wide. I am using leftover fabric from recovering my craft chair, normally I would suggest cutting the fabric selvage to selvage but since I have limited fabric I just used what I could.
I cut 3. 6"x 21" strips just to make sure I had enough fabric, if you are cutting selvage to selvage you would only need 2 strips because most fabric is 36" or wider.
Now to on to the sewing!
Pin your strips right side together and sew them so you get a nice long strip. Next start pinning your sides to the top of the cover. To start fold over 1/2" on one end of your strip, this is so the raw edge will be hidden when you close up the side. Then pin it all the way around the circle making sure right sides are together. When you reach the end make sure you have 1" overlap and trim excess fabric, then finish pinning the extra 1" overlap.
Sew with a 5/8" seam. When you finish sewing the side to the circle you are basically going to top stitch the side seam closed.
Once that is finished it is time to cut the elastic, I used 3/8" elastic but you can use 1/2" if you want. To measured my elastic by wrapping it around the upper portion of the stool legs right underneath the seat and cut it so I had about a 2" overlap. Using a zigzag stitch I stitched the ends of the elastic together.
After trying the unfinished cover on the stool I realized that I may have over estimated how wide to make the sides so I needed to use up the excess. I started by folding over about 1" of fabric and placing the elastic in between to create the hem. I used the edge of my presser foot as a guide and kept my fabric lined up with it and the 1" mark on my machine, I had to stop several times to adjust the fabric because it will bunch up.
Here it is in all it's glory...or not. I realized that after making this one that I need to change my sizes, I probably should have only done a 14" circle and maybe a 4" wide sides. Since it was my first try at making a cover for my stool I think I did good, next time I'll try making it smaller.
Now here it is in action!
Subscribe to:
Posts (Atom)