Sunday, August 11, 2013

I'm now on Facebook

I decided to make a page on Facebook so I can keep everyone updated on the progress of projects before they are finished. Please show some support by liking my page.

https://facebook.com/ZorabellsAverageLifeCreativityEdition

I plan on being more active on my Facebook page while using this blog for completed projects.

Tuesday, August 6, 2013

Limburg an der Lahn Layouts

In March we went to a really cool German town called Limburg an der Lahn, which means Limburg on the Lahn. The Lahn is the river that runs right next to the town. I took me a while but I finally found some paper from my existing collection to use.

I started running low on alphabet stickers and I wasn't able to use the stickers for all the little things that I wanted to so I went to work trying to find another solution. I decided to type everything I wanted up and print them out, then I had another problem because all the card stock I had to print on was white and it didn't go with my other paper. I dug into my crafts supplies and tested many different things, the best solution was pastel pencils. Using a brown pastel pencil I drew along the edge of the paper then using a q-tip I smudged it all around and I got this nice antique looking paper as a result.


Now on to the Layouts!


Another tip that I had gotten from a fellow scrapbooker was to use collage prints so that you can add a lot more photos to a page. I personally use Walgreens to print my photos, and I had the chance to get a free collage print so I used on some of these photos.


Sunday, August 4, 2013

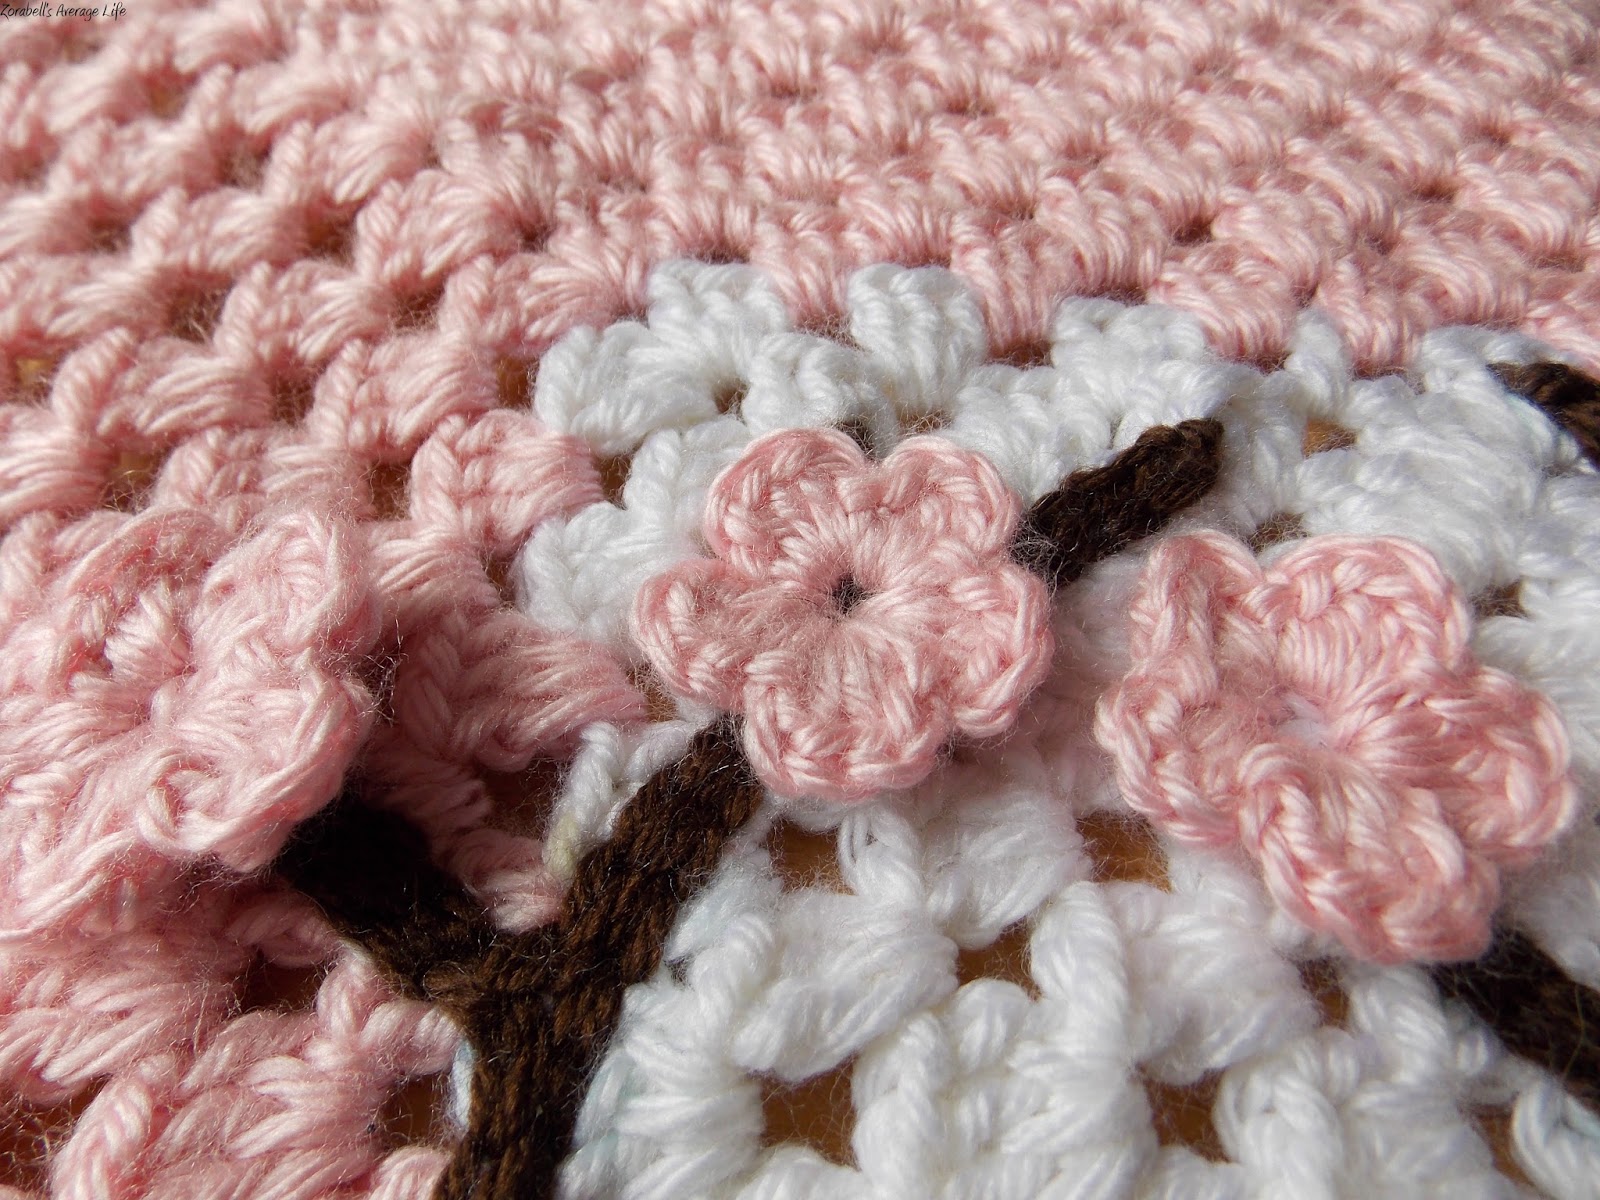
Cherry Blossom Baby Blanket

Cherry Blossom Blanket

I have been working on this blanket for a while and I thought it was finished but inspiration struck and I had to do more.
The basic blanket is a giant granny square, but I was left with a large white center that needed color. I always thought of this blanket as a neopolitian but lately I started thinking it would look nice with some cherry blossoms.

 
The yarns I used were:
Caron Simply Soft in White
Caron Simply Soft in Soft Pink
Red Heart Soft Yarn in Chocolate


Using a G hook I did 11 rounds of each color: 11 white, 11 pink, and 11 brown for a total of 33 rows.
The flowers are simply done so here is the pattern:
Start with a magic circle.
Chain 3 (count as first hdc), 2 dc, hdc, sl* repeat 4 times sl into 3rd ch. Leaving a long tail for sewing.

 
The branches are free form surface crochet that I based on several online photos of branches. The finished size is roughly 31in x 31in.

My cat was being a little stinker while I was doing photos and I normally would have trashed them but Ichigo was just too darn cute, so here they are.


Enjoy!

Saturday, August 3, 2013

Burlap Flower Ball

Burlap Flower Ball

I have a habit of saving smaller pieces of fabric just in case I could find a use for them, well now I found one for some burlap scrap.

I had seen this craft on pinterest from Morena's Corner and I figured I could make something similar.


Since I just happened to have a cute little galvanized tub and burlap on hand (the burlap I used is this one) I figured why not pick up the last few items need to make this. But I ran into an issue because the local craft store didn't have upholstery tacks so I had to come up with an alternative. 

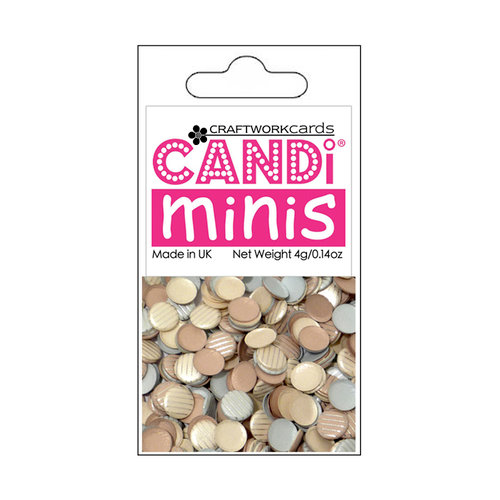
My first choice was straight pins, but I couldn't find a pack of really cheap ones but then I found a pack of sequin pins, they work just as well as straight pins albeit shorter. Then I had to figure out what to cover the pins with when I came across these:
 Craftwork Cards - Candi Minis - Paper Dots - Baker Street

These are really cute cardstock "buttons" that worked perfectly for covering up the pins and making the center of the flowers nicer.

My supply list :
Scissors
Mini Galvanized Tub/Bucket
Burlap
Styrofoam Ball
Tissue Paper
Sequin Pins
Candi Mini's
 Hot Glue or Glue Dots

The Styrofoam ball that I got fit perfectly in the tub so I didn't have to do anything else to the ball. 

I started by cutting flowers out of my scrap burlap the same way as the original tutorial, I skipped painting the flowers since my burlap already had print on it. 


After doubling up the flowers I started pinning them to the ball but too much of the Styrofoam was showing so I found some brown tissue paper and wrapped the ball in it. 

 I started out pinning the flowers evenly but since my flowers aren't the same size I pinned them wherever they fit. After getting them all pinned I used glue dots to secure the Candi Mini's to the center. After each of the centers were attached I just placed the half covered ball in the tub and it was done.


It is done and ready to be displayed

Enjoy!

Tuesday, July 30, 2013

2012 Road Trip Layouts

In 2012 I went on a road trip with a friend from Texas to Nebraska. Since it was just 2 women and one cute little man I went with a more girlie layout. Plus I just love pink and browns together.


I found that this is one of my favorite layouts that I came up with just because of all the elements I was able to use. I finally got to use some of my chipboard glitter elements and some of the ribbon I had lying around.

Now here is what the layouts look like once they are all pulled together.


Thursday, June 27, 2013

2010 Road Trip Layouts

Since I started going to these scrapbooking classes I haven't actually used any of the layouts I've done. It is mainly due to the fact that they are only 2 page layouts and I don't have the supplies to make coordinating pages. Now I figured it was just about time to finally work on some layouts I would actually use soon. I have been wanting to do some pages for my 2010 road trip but what I had picked out was some really cute die-cuts, white 12x12 paper and some really awful bright paper that just didn't go with the photos or die-cuts. 

Using some inspiration from my last scrapbooking class I  pulled out the die-cuts and started looking for coordinating papers. I sat down and over 2 days I worked on 5, 2 page layouts that all went together but weren't the same. Each state that we traveled through got a 2 page layout and with 5 states that we traveled through am sad I didn't have more good quality photos for my scrapbook.

Oregon

California

Arizona

New Mexico

Texas
Since I already had my pictures selected for each page I was able to figure everything out a little easier by placing the photos where I wanted and adjusted accordingly.

I haven't glued down the photos yet just in case I wanted to add a few more elements to some of the pages. But here is what the layouts look like with the photos in place.

Oregon

California

Arizona

New Mexico

Texas
After looking at some of the photos I realize they aren't the best quality but then again I only had a cell phone camera with no flash at the time, but I still managed to get some good photos. Some of these photos my look familiar if you were following my other blog since I think I stopped posting around the "roadtrip" portion of my life story.

June Scrapbooking Class

I'm Back! It has been a while but I am back with the latest layouts from the monthly scrapbooking class I like to go to. This month we did two planned layouts and then we got to go through a giant box of scrap papers that the instructor brought so we could make our own for once. 

A cute summery layout

An Italian trip layout.

The Italian layout isn't 100% finished because I wanted to be able to play around with the elements on the page. Mainly because we are going to Italy next month with my parents and I wanted to be able to use the layout and elements for those photos. 


Now instead of a 2 page layout that the class usually does I went with a 4 page layout when I found enough scraps to do so. I fell in love with the patterned paper and I used all but one piece that I found in the scrap bin. it only took me a little over an hour to figure out how to get all of these looking good, then I found the most amazing brads and I managed to work them into 3 of the 4 pages.